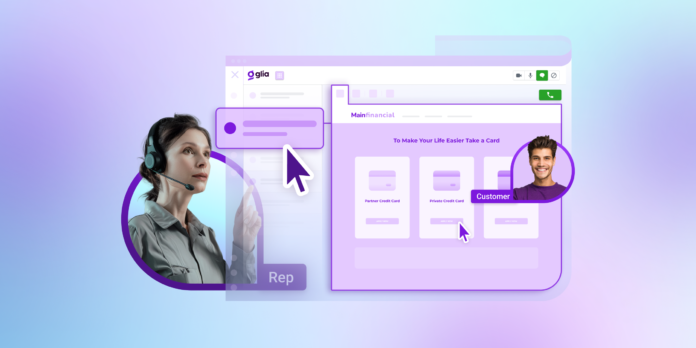
In a previous blog, we talked about how so many financial institutions aren’t implementing new CX-boosting projects due to a perceived cost and resource requirement. We also discussed how Glia’s Embedded Interaction Visualizer (EIV) goes against this notion by being surprisingly easy to implement. Today, we’re going to prove this claim by showing exactly how simple getting EIV up-and-running can be!
As a recap, Embedded Interaction Visualizer is a tool that supports customer service reps by allowing them to see the screen activity of a user they’re helping. This helps staff get a better idea of what exactly the customer is seeing and doing, and helps them give better and more informative support. EIV also allows CoBrowsing, which gives the rep and the customer a shared pointer so that the rep can visually guide them through digital properties.
This simple addition vastly improves the customer experience, eliminating those frustrating back-and-forth conversations caused by trying to blindly guide someone through a website. EIV improves efficiency and reduces handle times, and can be installed quickly and easily.
Installing EIV for Visitors
On the visitor’s end, Embedded Interaction Visualizer is installed by adding a JavaScript library to the pages that you want to enable CoView and CoBrowsing on. This is a simple process of adding an HTML script element to your website’s header or tag library manager, giving EIV access to those pages and allowing users to see the shared cursor from CoBrowsing.
This can also be done for mobile applications, using Glia’s mobile native SDK for iOS and Android. This set of developer tools allows for a simple installation of EIV on your mobile app, empowering both desktop and mobile users to experience the ease of real-time visibility.
Installing EIV for Staff
Implementing the Embedded Interaction Visualizer for your staff can go one of two ways, depending on whether you’re planning on installing it in Salesforce or another CRM application, such as Amazon Connect. Both are equally simple and can get EIV up-and-running for your support reps in no time at all!
To install & configure EIV on Salesforce:
- In Salesforce’s AppExchange listing, open Embedded Interaction Visualizer and click Get It Now.
- Configure the access credentials for your Glia tenant in the newly added Glia Admin page in Salesforce.
- Configure Embedded Interaction Visualizer user provisioning. Salesforce can automatically manage Glia users and entitlements to match the Salesforce usage entitlement. This works as a batch process and will automatically provision and deprovision users.
- Optionally, you can configure detailed logging to pull CoView and CoBrowsing events into Salesforce from Glia.
- Finally, add the EIV component using the lightning page layout to the object where you would like to surface the functionality.
And that’s it! This simple process can be done by just about anyone in a short timeframe, and it is instantly ready to start helping your staff achieve improved efficiency.
To install & configure EIV on another CRM
For just about every other CRM available, EIV can be installed just as easily with a little javascript and iFrame.
- Add users to your Glia instance.
- Add an iframe html element to the page with an id that can be used to reference the element.
- Create a Javascript file that does the following either on page load or an event of your choosing:
- Retrieve the Agent’s unique identifier from Glia by calling the List Users Glia interface using the Agent’s email address as an identifier.
- Acquire a launch token from the Glia token REST service passing in the unique identifier for the operator.
- Set the src of the iframe element you created to call visualizer endpoint passing the launch token.
All of these elements are available within Glia’s javascript library, allowing you to easily insert them into your CRM of choice, such as Amazon Connect. There’s no extensive coding required, allowing you to get EIV up and running in no time at all.


